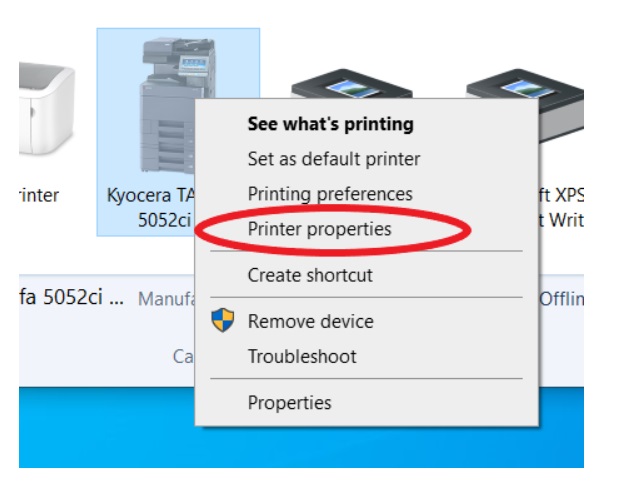
Procedure for Installing a Multifunction Printer on a LAN
Materials Needed
- Multifunction printer
- Ethernet cable (if applicable)
- Access to the printer’s network settings
- Computer (Windows or Mac)
- Installation CD or access to the internet for downloading drivers
Step 1: Unbox and Set Up the Printer
- Unbox the Printer: Remove all packaging materials and protective tape from the printer.
- Position the Printer: Place the printer in a location where it can connect to the network easily (near a router if using Ethernet).
- Connect Power: Plug the printer into a power outlet and turn it on.
Step 2: Connect the Printer to the Network
- For Wired Connection (Ethernet):
- Use an Ethernet cable to connect the printer to a LAN port on your router or switch.
- For Wireless Connection:
- Access the printer's control panel.
- Navigate to the network settings.
- Select the Wi-Fi setup or wireless network option.
- Choose your Wi-Fi network from the list and enter the password.
Step 3: Install Printer Drivers and Software
Using Installation CD:
- Insert the installation CD into your computer’s drive.
- Follow the on-screen instructions to install the necessary drivers and software.
Downloading Drivers from the Internet:
- Visit the manufacturer’s website.
- Navigate to the support or download section for your printer model.
- Download the latest drivers and software for your operating system.
- Open the downloaded file and follow the installation prompts.

Step 4: Configure the Printer on Your Computer
Windows:
- Go to Settings > Devices > Printers & Scanners.
- Click Add a printer or scanner.
- Wait for the computer to detect the printer on the network.
- Select the printer and click Add Device.
Mac:
- Go to System Preferences > Printers & Scanners.
- Click the + button to add a printer.
- Select the printer from the list and click Add.
Step 5: Test the Printer
- Print a Test Page:
- Open a document or a test page from your computer.
- Select the multifunction printer as the printer and print.
- Verify Functionality: Ensure that the printer is functioning correctly (printing, scanning, copying).
Step 6: Configure Additional Settings (Optional)
- Access the printer settings through the software installed on your computer to adjust preferences like print quality, default paper size, etc.
- For scanning, you may need to configure the scanner settings through the software to select the destination folder for scanned documents.


Post a Comment
If you have any doubts, please let me know